Connect a payment business
Set up the Stripe or Paystack account that receives your event payments.
A payment business is your Stripe or Paystack account inside Pepvote. Create it once, finish the provider's onboarding, then link it to each event that charges money.
Create it
In Dashboard → Payment Businesses, select Create Payment Business. Enter a name, contact email, country, and business type (Individual, Company, or Non-profit). Paystack countries also ask for a settlement bank and account number.
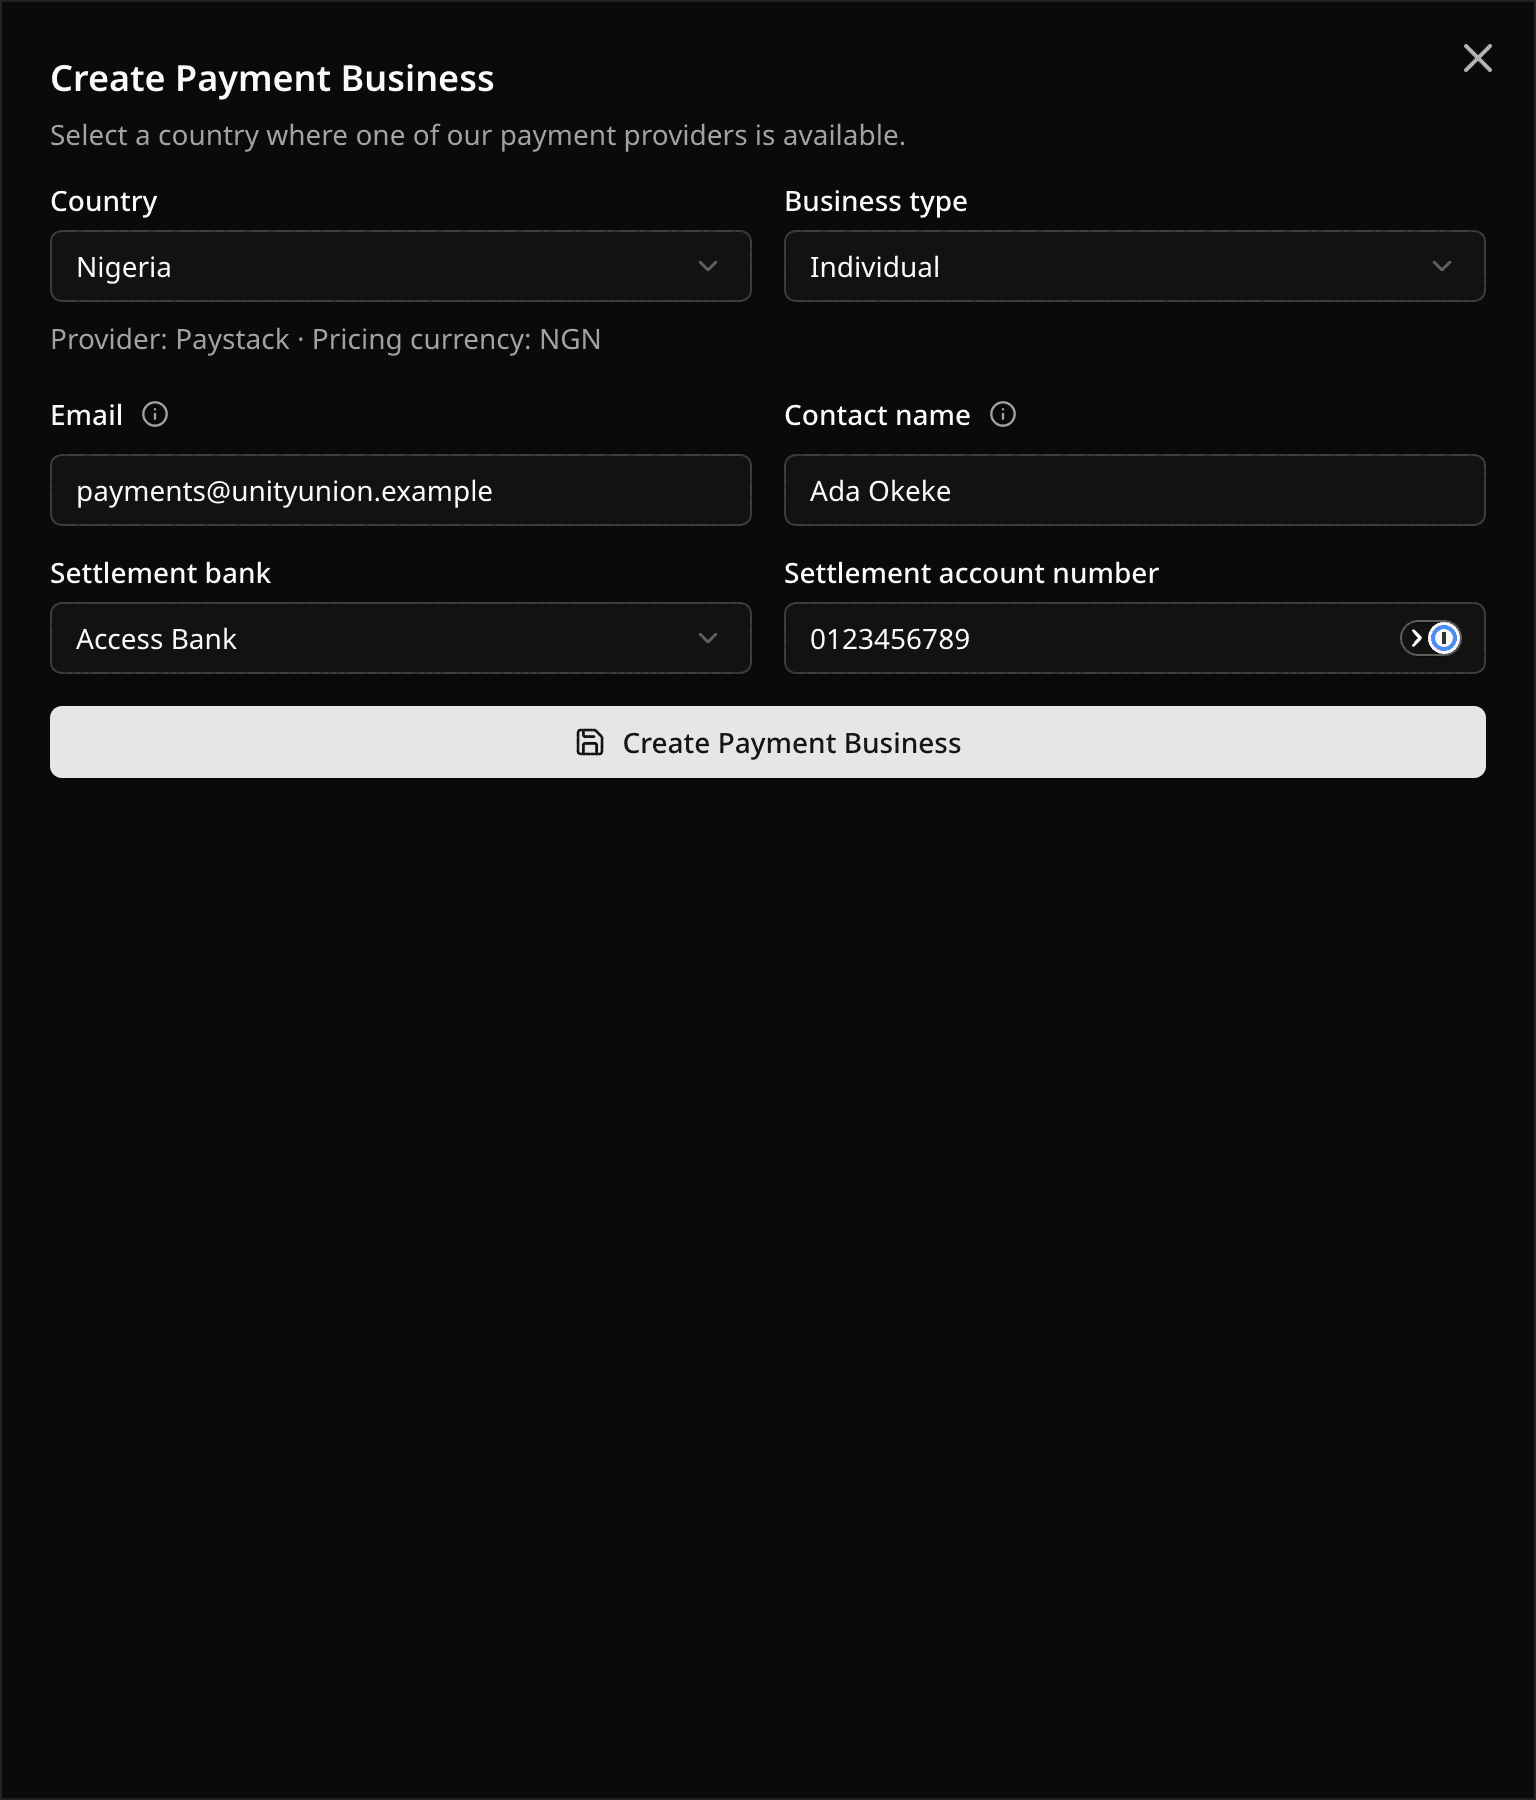
The country sets your provider and currency, and you cannot change it afterwards. Pick a country where you can complete the provider's verification and receive payouts.
Finish onboarding
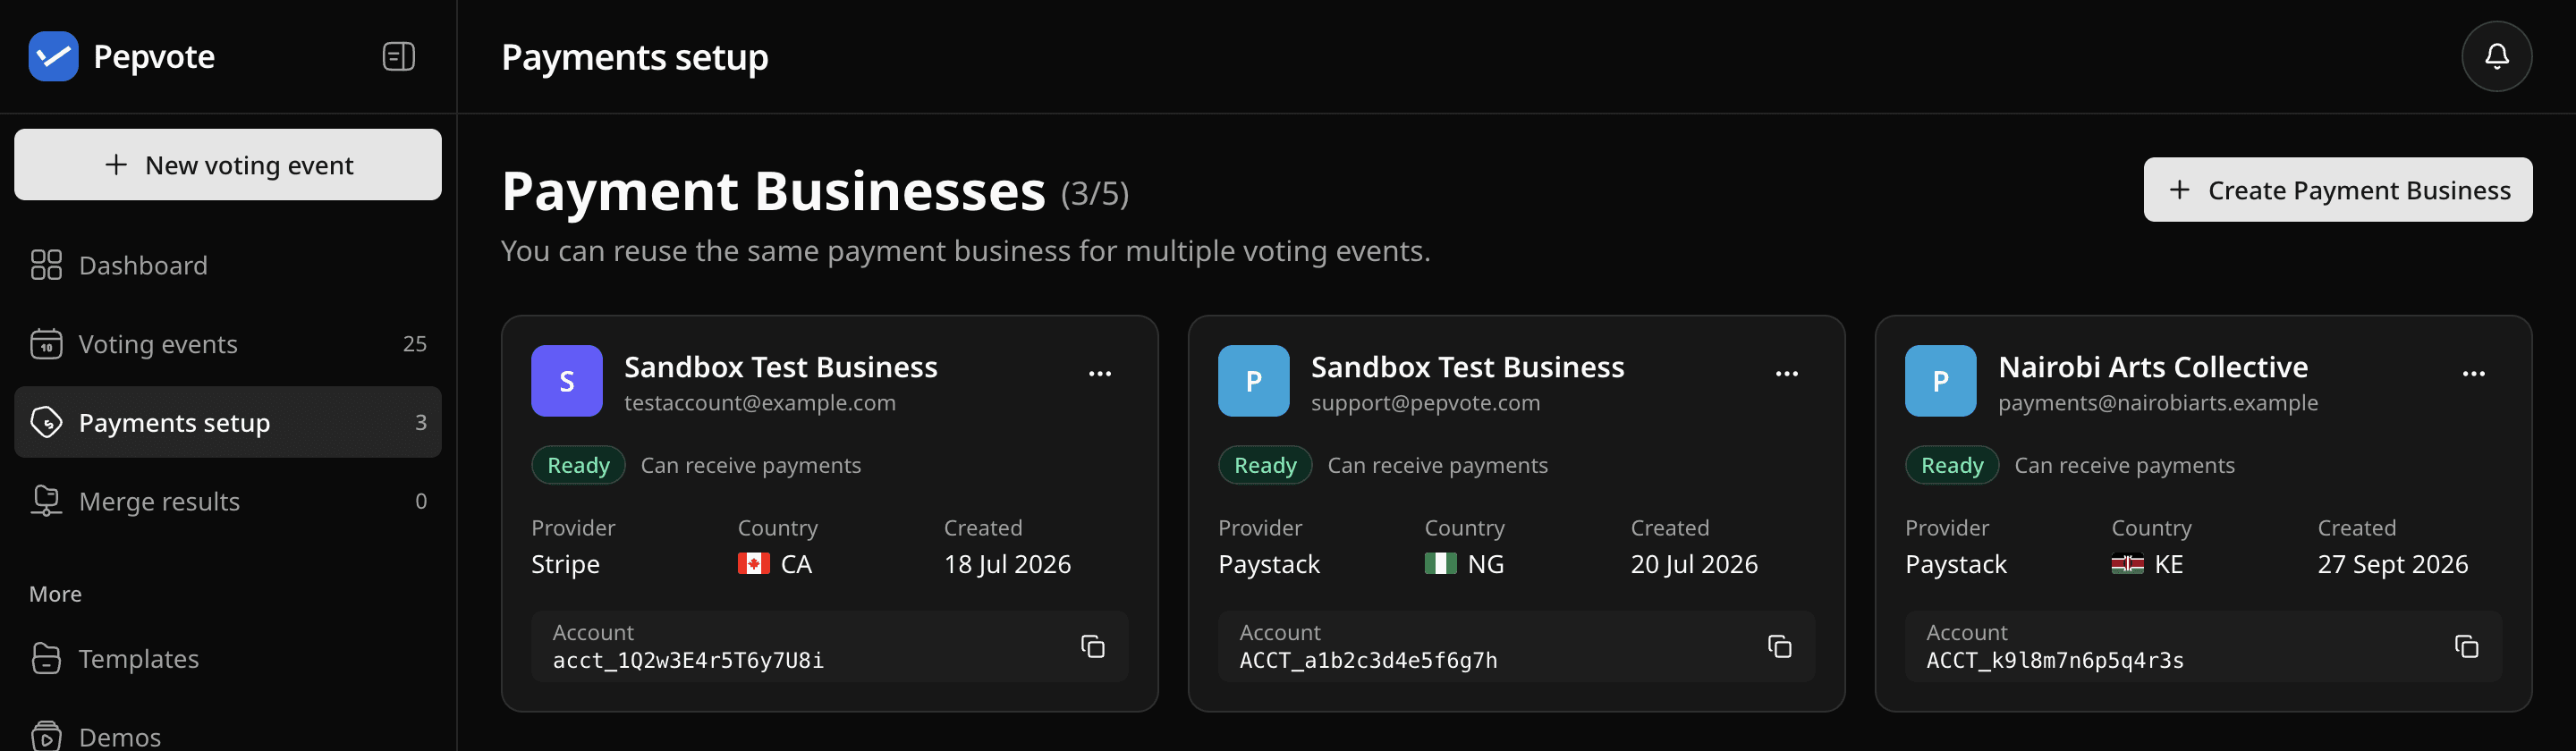
Stripe: open the business and follow the Stripe onboarding link. The status goes from Pending setup, to Setup required (Stripe wants more details), to Reviewing, to Ready. Refresh the details after each step.
Paystack: check the settlement bank and account digits. If the status is Verification required, send the verification request from the business page and watch the contact email. Inactive means Paystack disabled the account; sort it out with Paystack, then refresh.
Only a Ready business can take payments. Payout timing is up to the provider and can differ from being ready to charge.
Link it to an event
Open the event, go to Pricing, choose the Ready business, and save. The event's currency becomes the business's currency. You must be the event creator, Owner, or a Manager, and the business must belong to the creator.
Unlinking or swapping the business pauses any paid feature until a Ready business is linked again.
Problems?
- Country not listed: Pepvote has no provider for it yet.
- Bank list will not load: retry; if it persists, tell support the country and bank.
- Stripe stuck on Setup required: open Stripe and complete every item it lists.
- Paystack verification fails: make sure the business has a valid contact email.
Related help
Last updated October 16, 2026